Removing the engine from the automatic transmission (lifting table)
NOTE:
RISK OF DAMAGE
Damage to wires when disconnecting connectors and plug connections.
Sheared wires can cause a short circuit.
Damage to wires when disconnecting connectors and plug connections.
Sheared wires can cause a short circuit.
- Do not pull on wires when disconnecting connectors and plug connections.
NOTE:
TECHNICAL INFORMATION
Collect and dispose of emerging fluids. Observe country-specific waste disposal regulations.
Collect and dispose of emerging fluids. Observe country-specific waste disposal regulations.
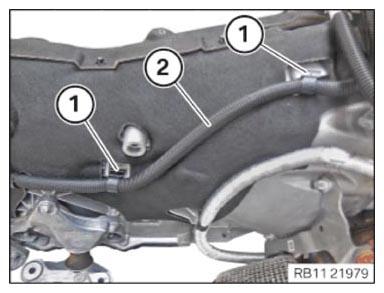
- Loosen clamps (1).
- Feed out the transmission wiring harness (2) and set it aside.
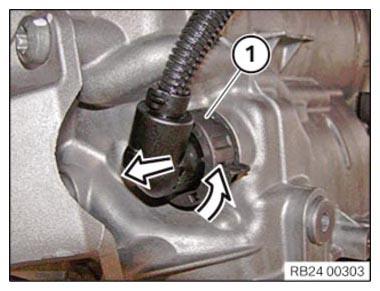
- Unlock connector (1) by turning and detach.
- Do not tap pins.
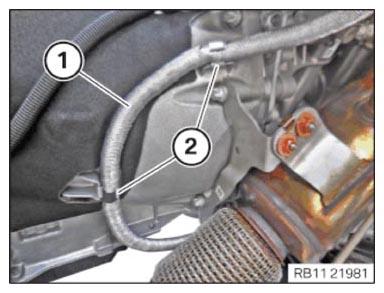
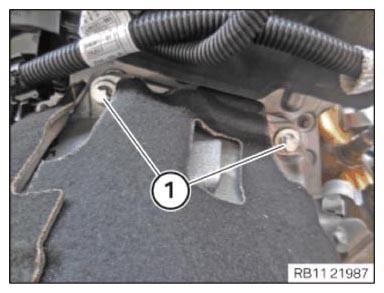
- Loosen all cable clips.
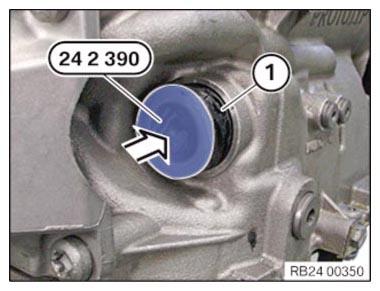
- Insert the special tool 0 494 213 (24 2 390)
in the sealing sleeve (1) in arrow direction.
- Remove positive battery cable (1) from clamps (2).
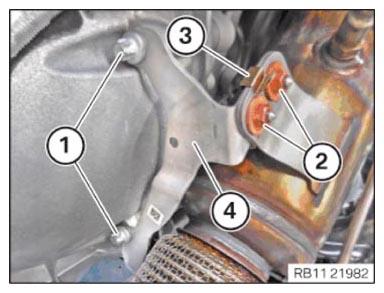
- Loosen nuts (2).
- Loosen screws (1).
- Loosen clamp (3).
- Feed out and remove the bracket (4) for the catalytic converter.
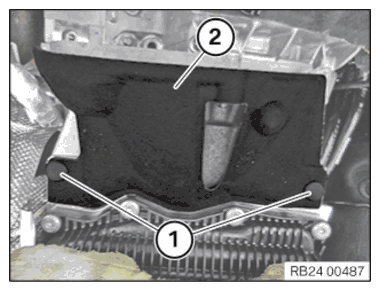
- Pull the expanding rivet (1) off.
- Remove the acoustic cover (2).
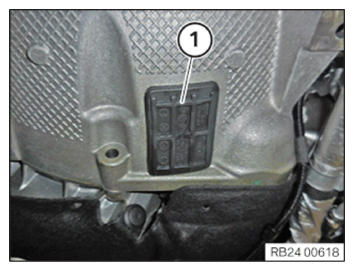
- Guide out and remove sealing cap (1).
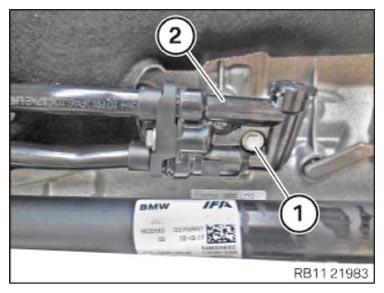
- Loosen screw (1).
- Feed out the transmission oil line (2) and place it to the side.
- Catch and dispose of the leakage transmission oil.
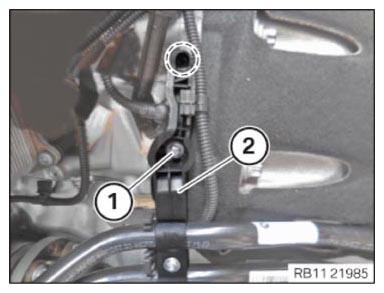
- Loosen screw (1).
- Feed out the bracket (2) for the transmission oil line in the marked area and set aside.
- Fit special tool 0 493 380 (11 6 480) .
NOTE:
RISK OF DAMAGE
Damage to the engine.
If the engine is manually rotated in the wrong direction of rotation, the engine can be damaged.
Damage to the engine.
If the engine is manually rotated in the wrong direction of rotation, the engine can be damaged.
- Only rotate the engine manually in the correct direction of rotation: a) clockwise when looking at the damper, or b) counterclockwise when looking at the chain drive. b) applies only if the timing chain is installed in the rear.
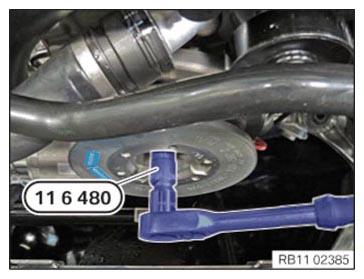
- Turn the engine by hand with the special tool 0 493 380 (11 6 480) .
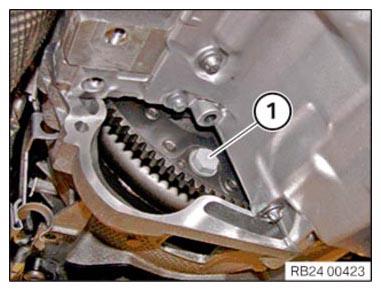
- Turn the engine on the vibration damper with the special tool 0 493 380 (11 6 480) in the direction of rotation until the bolt (1) becomes visible in the recess.
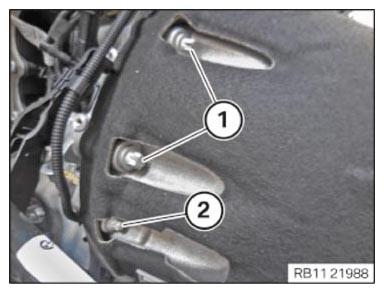
- Release all 6 screws (1) the torque converter.
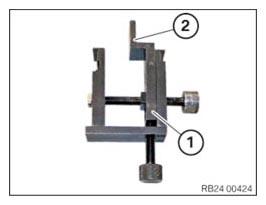
- Prepare the special tool 0 494 478 (24 4 161)
(1) with the shaped part 0 494 965 (24 4 165)
(2) as shown.
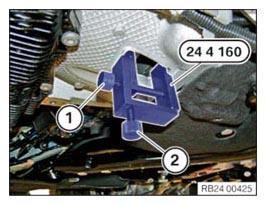
- Insert special tool 0 494 451 (24 4 160) into the recess of the transmission housing and apply slight tension using the screw (1).
- Screw the bolt (2) in to the stop.
- Tighten down screw (1).
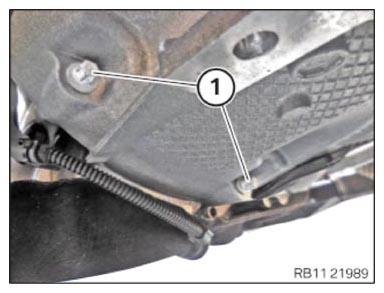
- Unscrew the transmission bolts (1).
- Unscrew the transmission bolts (1).
- Loosen the transmission bolt (2).
- Unscrew the transmission bolts (1).
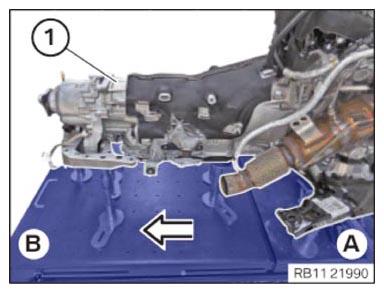
- Push tabletop (B) in the direction of the arrow and push automatic transmission (1) to the side.