Partially loosening the prop shaft
NOTE:
RISK OF DAMAGE
Damage to prop shaft during removal.
Non-observance of the removal guidelines for the prop shaft on the rear axle differential may cause severe damage.
Damage to prop shaft during removal.
Non-observance of the removal guidelines for the prop shaft on the rear axle differential may cause severe damage.
- Do not disassemble the three-hole flange, flexible disc and prop shaft. The three-hole flange to the rear axle differential is balanced with the flexible disc and prop shaft.
- Loosen the recessed nut against the direction of travel in clockwise direction. The prop shaft must be loosened on the recessed nut only and exclusively in the direction of rotation otherwise the anti-twist lock of the bi-hexagonal flange nut is damaged.
- In the event of a damaged anti-twist lock on the bi-hexagonal flange nut: Replace the rear axle differential.
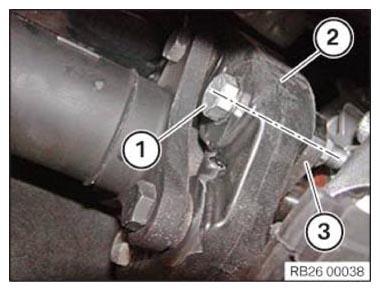
- Mark the installation position of the threaded connection (1) of the flexible disc (2) and the three-hole flange (3).
The identification makes it possible to install the prop shaft in the same position again. This should prevent a humming noise from the drive train during driving.
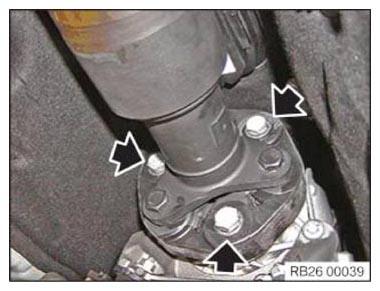
- Remove screws (arrows).
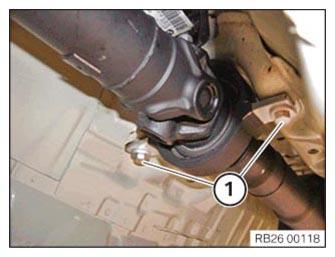
- Loosen the screws (1) on the central mount and hold down the prop shaft.
A major deflection angle of the prop shaft may damage the prop shaft and/or the joints.
- Tie up the prop shaft to the vehicle underbody.