Install bottom radiator
NOTE:
TECHNICAL INFORMATION
The radiator must not be damaged. If the radiator is damaged or has dents/kinks, replace the radiator.
Faulty positioning pins must be replaced.
Exchange the venting unit if the radiator is leaking.
If the radiator is only removed and reinstalled, replace the sealing rings on the flange of the radiator.
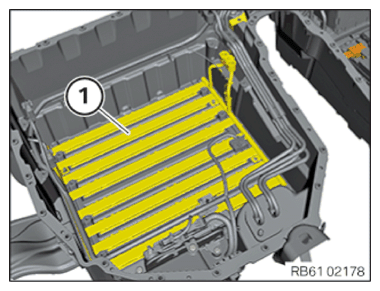
- Insert radiator (1) carefully and clip in to cooler pin.
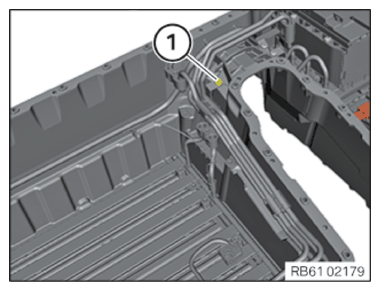
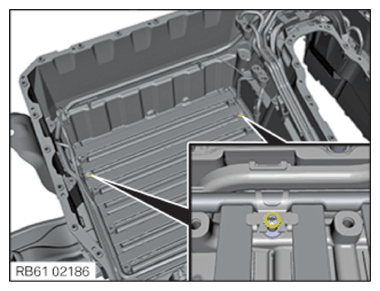
- Tighten down screw (1).TIGHTENING TORQUES SPECIFICATION
Radiator, bottom to lower housing section M6x16 replace screw. Tightening torque 13 Nm - Attach the plastic washers to the radiator pin.
Follow-up work
- Install CELL MODULE 2 .
- Install CELL MODULE 1 .
- Install top RADIATOR .
- Install CELL MODULE 3 .
- Tighten RADIATOR .
- Install the high-voltage battery unit LID .
- Perform EOS TEST