Installing PCU48
- Position PCU48.
- Connect the coolant line (1) within the vehicle interior and engage.
The detents must be audibly engage.
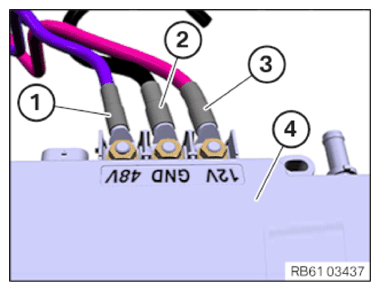
- Position the lines (1) (2) and (3) on the PCU48 (4) correctly as per colors and designations.
- Tighten the screws (3).
TIGHTENING TORQUES SPECIFICATION
| PCU48 screw | ||
|---|---|---|
| M6 screw | Tightening torque | 8 Nm |
- Connect connectors (2) and lock.
- Tighten nuts (1).
TIGHTENING TORQUES SPECIFICATION
| Line to PCU48 | ||
|---|---|---|
| Nut M8 | Tightening torque | 15 Nm |

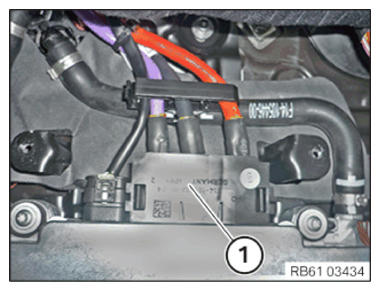
- Clip in the cover (1).
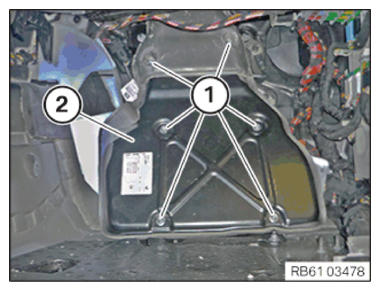
- Position the cover (2).
- Tighten the screws (1).
TIGHTENING TORQUES SPECIFICATION
| PCU48 screw | ||
|---|---|---|
| M6 screw | Tightening torque | 8 Nm |
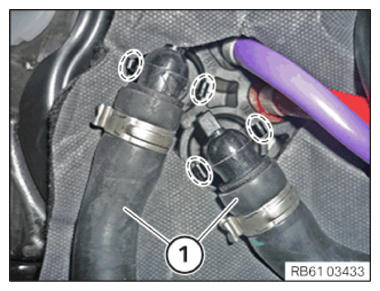
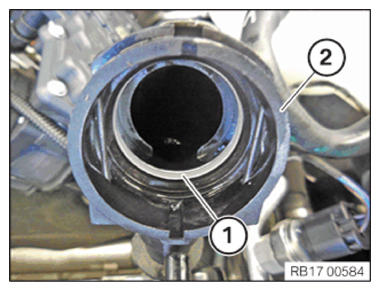
- Check the sealing rings (1) of the coolant lines (2) for damage and replace if necessary.
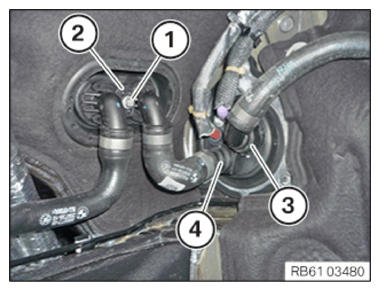
- Connect and lock the coolant hose (4).
- Connect and lock the coolant hose (3).
- Position the coolant flange (2).
- Tighten down screw (1).
TIGHTENING TORQUES SPECIFICATION
| Coolant flange screw | ||
|---|---|---|
| Screw M6x20 | Tightening torque | 8 Nm |
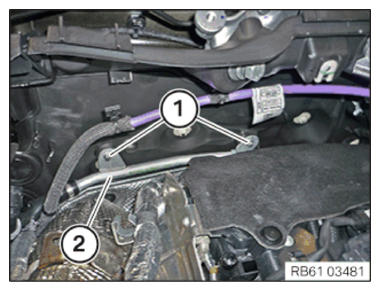
- Position coolant line (2).
- Tighten the screws (1).
TIGHTENING TORQUES SPECIFICATION
| Screw for coolant line | ||
|---|---|---|
| M6 screw | Tightening torque | 8 Nm |
Follow-up work
- Install acoustic COVER .
- Install right a-pillar footwell side TRIM PANEL .
- Install front right door sill COVER STRIP
- Install the right footwell TRIM PANEL .
- Reconnect all battery GROUND LEADS .
- FILL AND VENT the low-temperature coolant circuit.
- ACTIVATE the 48 v electrical system.
- Replacement only: ENCODE/PROGRAM control unit(s).