Installing the center console
NOTE:
To provide a better overview:
Schematic diagram with partially hidden components.
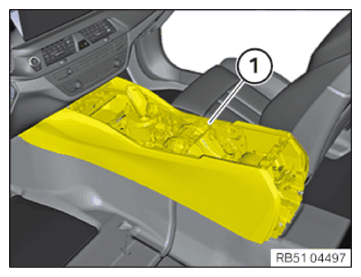
- Insert center console (1) from the rear top.
- Check for correct cable routing under the center console (1).
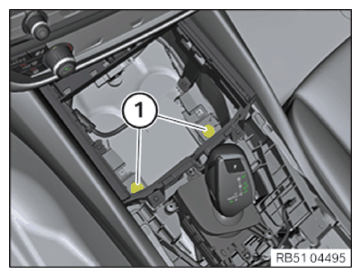
- Tighten the screws (1).
TIGHTENING TORQUES SPECIFICATION
| Center console to holder | ||
| Tightening torque | 4.6 Nm | |
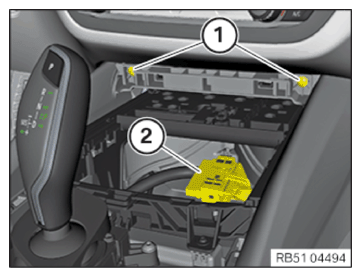
- Tighten the screws (1).
TIGHTENING TORQUES SPECIFICATION
| Center console to holder | ||
| Tightening torque | 4.6 Nm | |
- Tighten the screws (1).
TIGHTENING TORQUES SPECIFICATION
| Center console | ||
| Tightening torque | 1.8 Nm | |
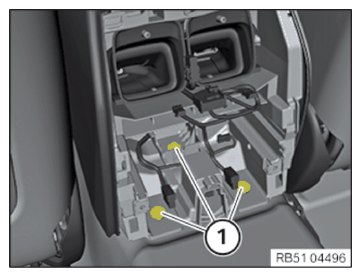
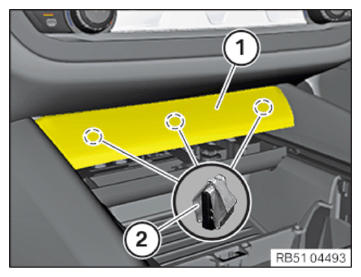
- Connect connector (2).
- Clip the trim (1) in from the rear at the clamps (2).
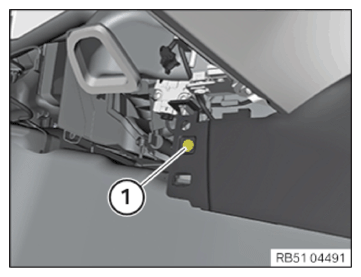
- Tighten the screw (1) in the left footwell.TIGHTENING TORQUES SPECIFICATION
Center console Tightening torque 1.8 Nm
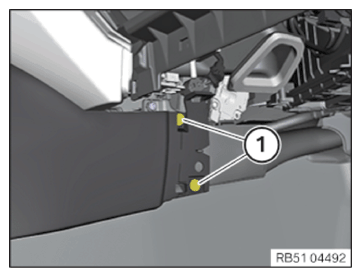
- Tighten the screws (1) in the right footwell.TIGHTENING TORQUES SPECIFICATION
Center console Tightening torque 1.8 Nm
Follow-up Work
- Install the right footwell TRIM PANEL .
- Install the pedal mechanism TRIM PANEL .
- Install the CUP HOLDER .
- Install the center console TRIM .
- Install front storage compartment TRIM .
- Install the center ARMREST .
- Install the center armrest STORAGE COMPARTMENT .
- Install the rear center console TRIM .
- Install rear VENTILATION GRILLE .
- Install the rear VENTILATION GRILLE (air conditioning with 4-zone control).
- Install the rear passenger compartment air conditioning CONTROL PANEL (integrated automatic heating/air conditioning system with 4-zone control).
- Connect all battery EARTH LEADS .
- ACTIVATE the 48 v electrical system.