Installing the evaporator
- Insert the evaporator (1) in the distributor housing (2) correctly.
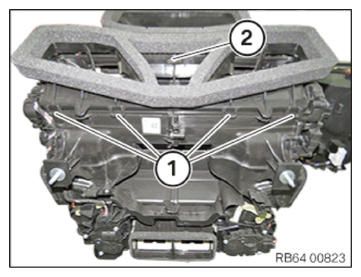
- Position distributor housing upper section (1) correctly and tighten all screws in the marked area.TIGHTENING TORQUES SPECIFICATION
Heater/air conditioner Screw Tightening torque 1.2 Nm - Correctly insert both microfilters (1).
The marks on the microfilters (1) must always point in the direction of the blower (2).
- Correctly position the cover of the microfilter housing (3) and tighten screws (2).TIGHTENING TORQUES SPECIFICATION
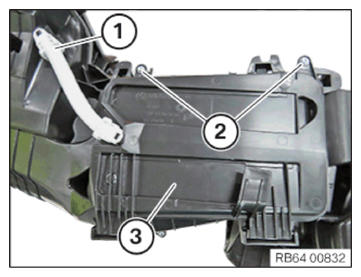
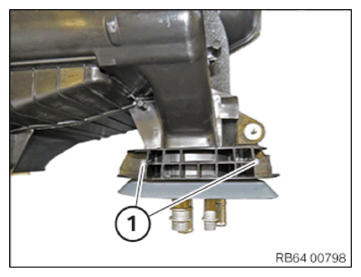
Microfilter lid on heating and air-conditioning unit Screw Tightening torque 2.8 Nm - Connect water drain hose (1).
- Turn the heating and air-conditioning unit around.
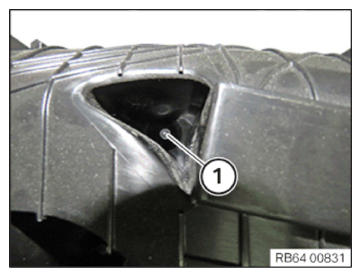
- Tighten down screw (1).TIGHTENING TORQUES SPECIFICATION
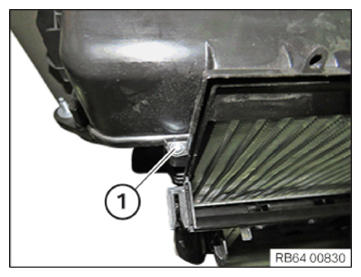
Heater/air conditioner Screw Tightening torque 1.2 Nm - Tighten down screw (1).TIGHTENING TORQUES SPECIFICATION
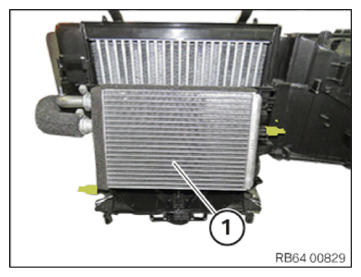
Heater/air conditioner Screw Tightening torque 1.2 Nm - Insert heat exchanger for heating system (1) correctly.
- Correctly position the housing (2) and engage it in the latch mechanisms (1).
- Engage the latch mechanism (1) on the housing (2) correctly.
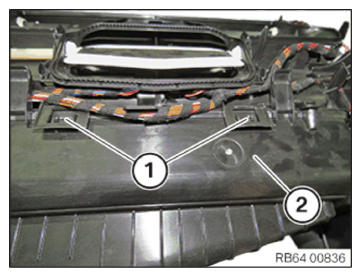
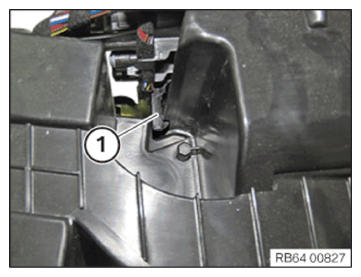
- Lock latch mechanism (1) correctly.
- Correctly position the bottom cover and tighten screws (1).TIGHTENING TORQUES SPECIFICATION
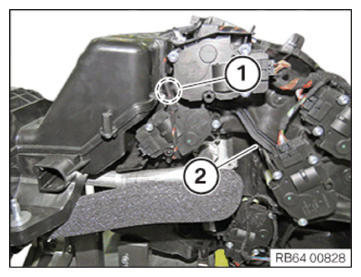
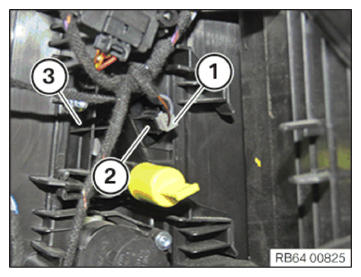
Heater/air conditioner Screw Tightening torque 1.2 Nm - Properly insert the evaporator temperature sensor (2) into the heating and air-conditioning unit (3) and connect the connector (1).
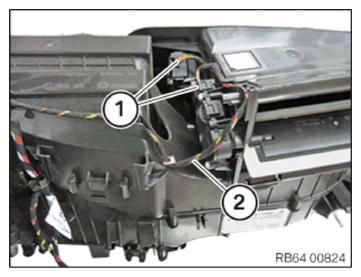
- Insert the wiring harness (2) and connect the connectors (1).
- Tighten the screws (1).TIGHTENING TORQUES SPECIFICATION
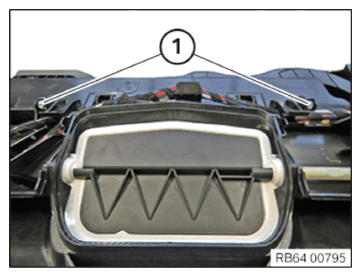
Heater/air conditioner Screw Tightening torque 1.2 Nm - Properly position the air distributor (2) and engage in the latch mechanisms (1).
- Secure the clamps (arrows).
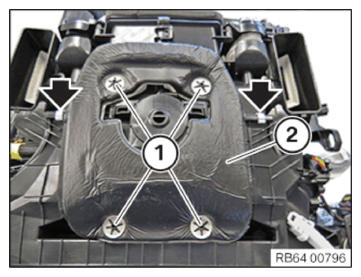
- Correctly position the foam material (2) and secure it with the holder (1).