Mounting chrome strip on outside door handle (only for OE 322 and OE 4UR)
NOTE:
Betag Innovation soldering case number 10030 is recommended for the repair.
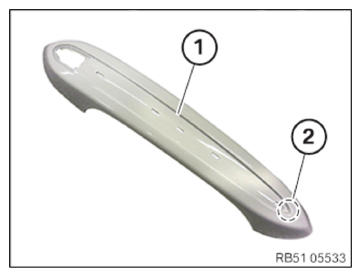
- Check outside door handle (1) cover for any excess paint in area (2) and remove if necessary.
Only then is a correct installation of the chrome strip guaranteed.
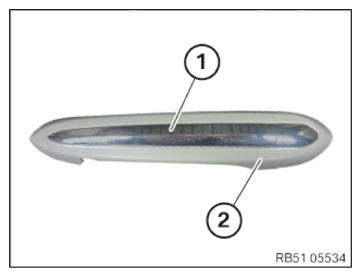
- Position chrome strip (1) on the outside door handle cover (2) as shown.
- Only outside door handle with lock barrel.
- Perform work on a clean support (to avoid scratches and pressure marks).
- Preheat soldering iron with the displayed soldering tip (2) for approximately 10 minutes.
- Lightly press outside door handle cover against support and hold.
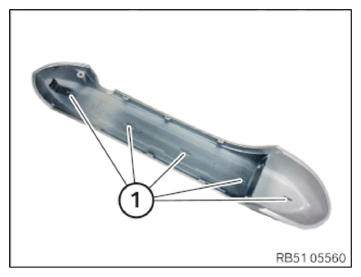
- Weld welding pins (1) from inside to outside by applying slight pressure with the soldering tip (2) (dia. 10 mm).
After each welding pin, maintain the pressure on the outside door handle cover for approximately 5 seconds (welding cooling-down period)
- Only outside door handle without lock barrel.
- Perform work as described in previous step, however note the modified position of the welding pins (1).
- Apply Sikaflex 221 sealant (approx. 1.5 g)
as shown.
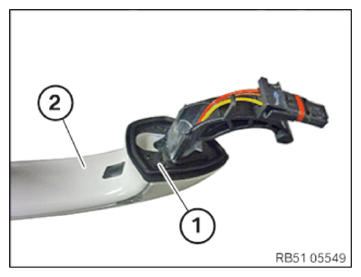
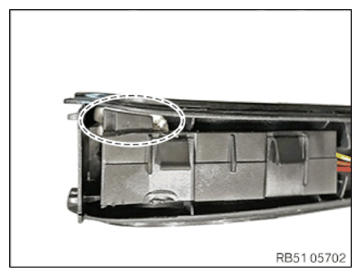
- Guide in outside door handle electronics plug connection (TAGE) (1) to the outside door handle (3).
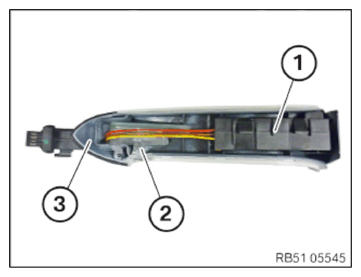
- Install outside door handle electronics (TAGE) (1) and the fibre-optic conductor (2) as shown on the outside door handle (3).

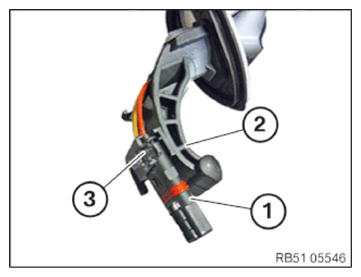
- Guide in connector (1) to the outside door handle (2).
- Fix connector (1) using a suitable adhesive in area (3).
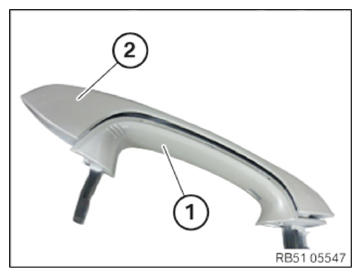
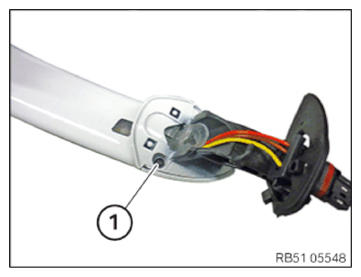
- Put together and lock outside door handle (1) and outside door handle cover (2).
- Tighten down screw (1).
TIGHTENING TORQUES SPECIFICATION
| Outside door handle cover to outside door handle | ||
| Screw | Tightening torque | 0.4 Nm |
- Correctly mount seal (1) on the outside door handle (2).