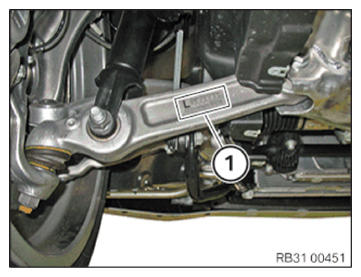
Install lower wishbone
- Observe the mark (1) on the wishbone below.
L = left
R = right
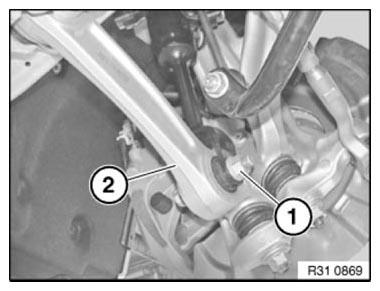
- Feed in the bottom wishbone (2) in the swivel bearing.
- Replace nut (1).
Parts: Nut
- Tighten the nut (1).TIGHTENING TORQUES SPECIFICATION
Lower wishbone to swivel bearing M16
Replace nut.Joining torque
100 Nm
Angle of rotation 90° - Position the bottom wishbone (2) on the front subframe.
- Replace the screw (1).
Parts: Screw
- Insert screw (1).
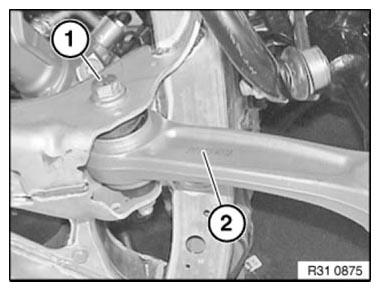
NOTE:
Tighten the screw connection in the NORMAL POSITION
.
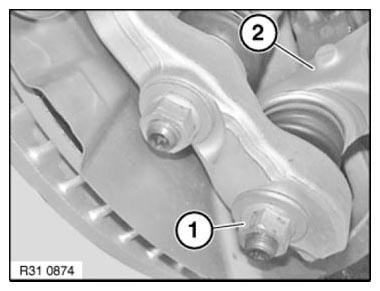
- Position the spring strut fork on the bottom wishbone (2).
- Replace the bolt and the nut (1).
Parts: Bolt, nut
- Insert screw.
- Tighten the nut (1) in NORMAL POSITION
.TIGHTENING TORQUES SPECIFICATION
Lower wishbone to spring strut clevis M14
Replace screw and nut.
Tighten in normal position.Joining torque
165 Nm
Angle of rotation 90°NOTE: Tighten the screw connection in the NORMAL POSITION .- Replace nut.
Parts: Nut
- Tighten the nut in the NORMAL POSITION .
TIGHTENING TORQUES SPECIFICATIONLower wishbone to front axle carrier M14
Replace screw and nut.
Tighten in normal position.Joining torque
85 Nm
Angle of rotation
180° - Replace nut.
Follow-up work
- Refer to INSTALLING THE COVER OF THE STEERING ASSEMBLY .
- Refer to ATTACHING THE FRONT LEFT WHEEL .
- Refer to PERFORMING CHASSIS ALIGNMENT CHECK .