Installing the gear selector switch cover
- Check the switch mats (1) for correct positioning.
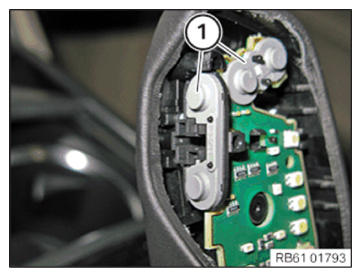
- Check the printed circuit board (1) for correct positioning.
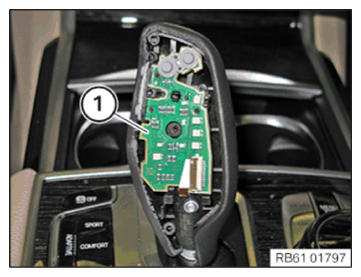
- Clip the frame (1) to the gear selector switch (GWS).
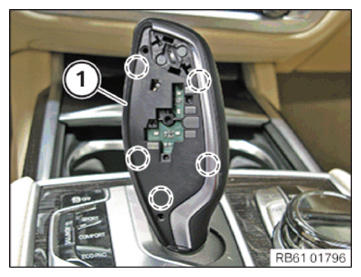
- Press the frame (1) down at the marked points once more.
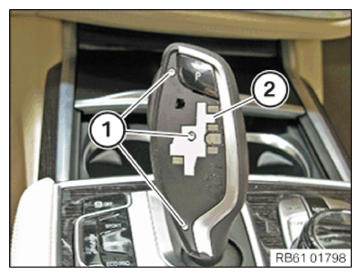
- If applicable, mount the cover (2).
In the case of the "ceramic gear selector switch cover" equipment specification, cover (2) is not fitted.
- Tighten the screws (1).TIGHTENING TORQUES SPECIFICATION
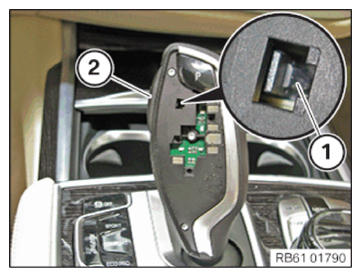
Frame to gear selector switch Screw Tightening torque 0.5 ± 0.07 Nm - Insert the parking brake button (1) into the frame.
- Lightly grease the guides (2) using the enclosed grease.
- Clip in the parking brake button (1) into the frame (2).
- Operate the parking brake button (1) several times to check it.
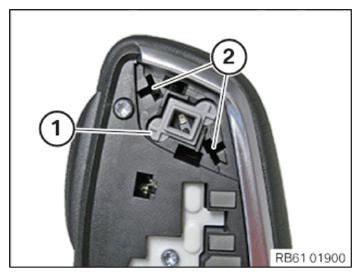
- Clip the release button (2) into the gear selector switch (GWS).
- Check the retaining lug (1) of the release button (2) has correctly engaged with the latch mechanism.
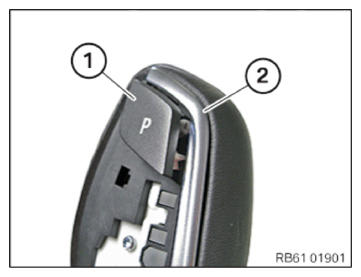
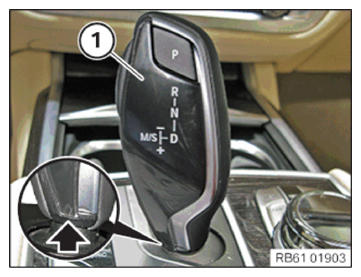
- Pull off the protective film (1) from the gear selector switch cover (2).
- Position the gear selector switch cover (1) at the bottom (arrow) of the frame.
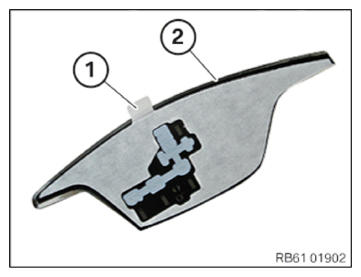
- Guide the gear selector switch cover (1) along the edge at the side while pressing it on.
- Press down across the entire surface of the gear selector switch cover (1) and maintain the pressure for approximately 15s.
- Make sure that the final visual inspections and function checks are carried out with the engine running.
- Carry out a visual inspection for emerging grease at the parking brake button.
- Carry out a visual inspection of the lighting at the gear selector switch (GWS).
- Carry out a function check of all buttons on the gear selector switch (GWS).
- Check the function by shifting through the individual gear positions.