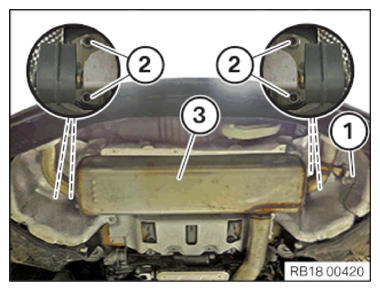
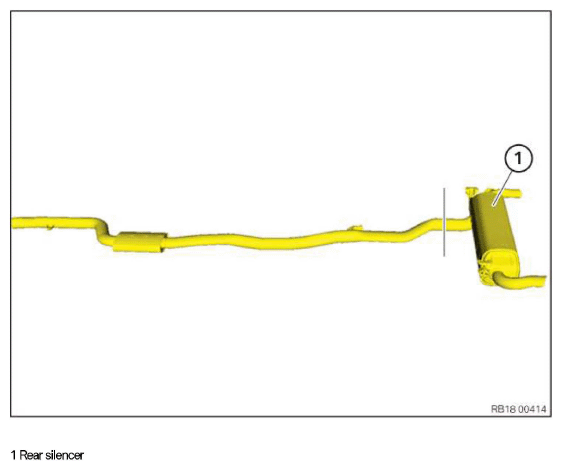
Removing the rear silencer
Replacing the rear silencer
WARNING:
Hot surfaces.
Risk of burning!
Risk of burning!
- Perform all work only on components that have cooled down.
CAUTION:
Component with heavy weight.
Injury hazard!
Injury hazard!
- Note component's center of gravity.
- Support component using a jack.
- Secure component against falling off the jack.
CAUTION:
Heavy component.
Heavy components can lead to injury or damage.
Heavy components can lead to injury or damage.
- Remove and install heavy components with the aid of another person/other persons.
CAUTION:
Shavings resulting from sawing or grinding components.
Injury hazard!
Injury hazard!
- Conduct all work in appropriate personal protective equipment only.
- Wear safety goggles and hand protection.
NOTE:
TECHNICAL INFORMATION
If the separation point is not marked by a punch mark in the pipe, determine the separation point by means of the pipe length on the new component.
Transfer the separation point to the faulty component and mark.
Cut through the faulty component at the marked point with a suitable tool.
Deburr the separation point and remove any shavings. Risk of remaining metal chips at the joint between the two pipes and/or shavings in the rear silencer.