Intermediate Position Bracket Switch -F518- /Right TENSIONING Bow Lowered Position Switch -F420-, Removing And Installing
Special tools and workshop equipment required
- Wiring Harness Repair Set :VAS1978 B
-- Bring the convertible top into its service position. Refer to Position : .
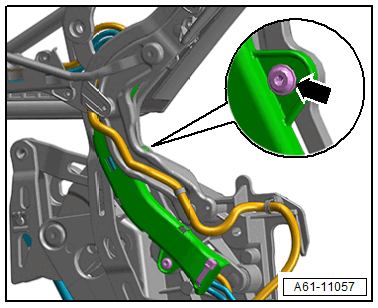
-- Remove the bolt -arrow-.
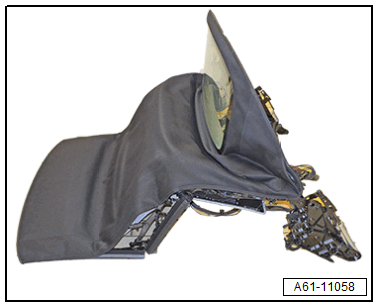
-- Remove the convertible top. Refer to CONVERTIBLE TOP, REMOVING AND INSTALLING .
-- Bring the convertible top into position shown.
-- Using a small screwdriver, lift the locking springs -1 and 2- slightly and remove the hydraulic cylinder -3- from the ball pin.
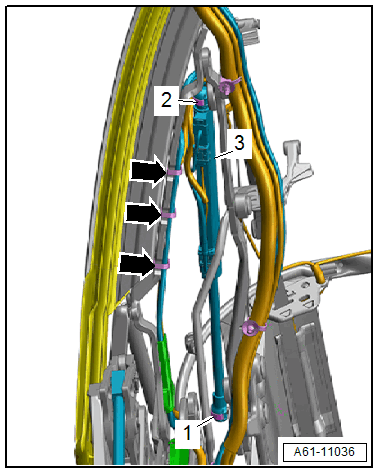
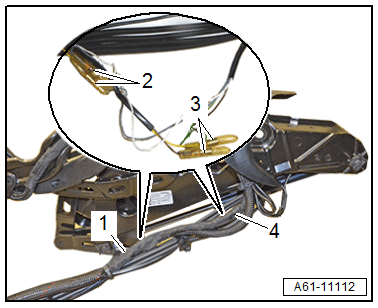
-- Cut through the cable tie -arrows-.
-- Remove the bolt -5- and free up the cable holders -1-.
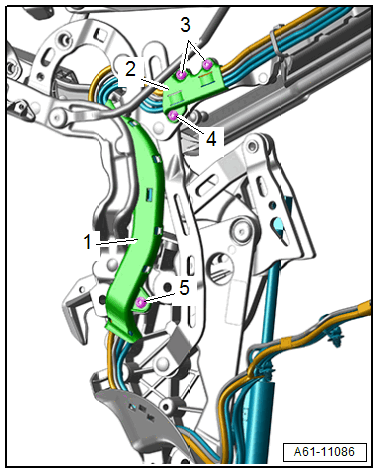
-- Remove the bolts -3 and 4- and remove the cable holder -2-.
-- Turn the hydraulic line -5- to the side.
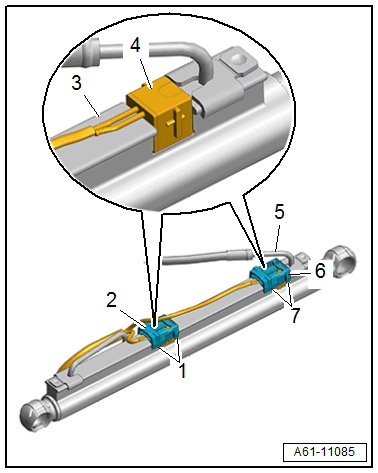
-- Release the catches -1 and 7- and remove the cover -2 and 6-.
-- Mark the installation position of the switch -4- for reinstallation.
-- Remove the switch -4- from the hydraulic cylinder -3-.
-- Free up the wiring harness from the tensioning bracket.
Installing
Install in reverse order of removal and note the following:
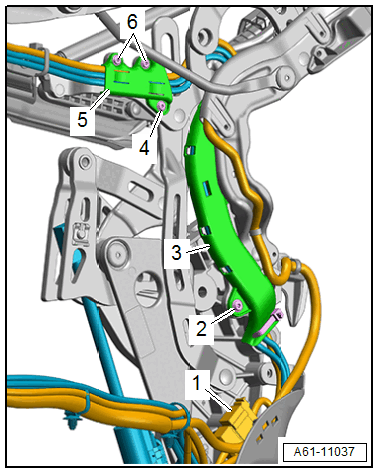
-- Loosen the wiring connectors -1 and 4- in the area of the wire connection.
-- Disconnect the wires -2 and 3- and connect with new wires. Refer to WIRING HARNESSES AND CONNECTORS, REPAIRING .
-- Install the switch according the marking made during removal.
Tightening Specifications
- Refer to Figure