Adding UV-Leak Detection Additive when the Refrigerant Circuit is Full
If leak detection fluid was filled already in a refrigerant circuit for an earlier repair, note the following: Only add new leak detection fluid if the refrigerant oil will be replaced. If only a portion of refrigerant oil was replaced, only top-off with a corresponding amount of leak detection fluid as well. For example, if 100 ml of refrigerant oil was replaced in a vehicle with 250 ml, add only 1 ml (cm3 ) of UV-leak detection additive.
A small quantity of UV-leak detection additive remains in the service connection. Carefully remove this residual amount so that a leaking area is not detected erroneously upon a later leak detection.
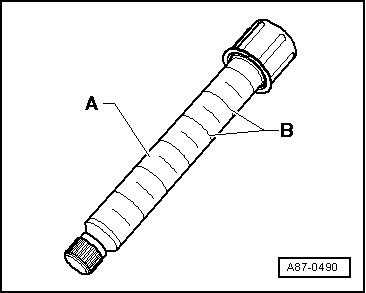
The cartridge -A- contains 15.4 ml of UV-leak detection additive (one unit -B- corresponds to 2.5 ml).
-- Switch off ignition.
-- Remove sealing cap from service connection of low pressure side in refrigerant circuit.
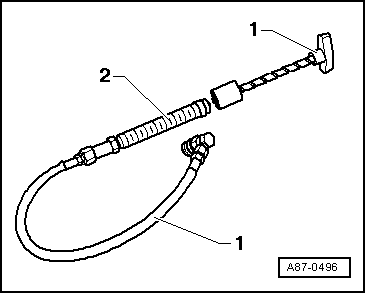
-- Assemble the Leak Detection Kit -VAS6201A- -1- with the cartridge -2- Leak Detection Kit - Cartridge :VAS6201/2 .
-- Insert Leak Detection Kit - Filler Tube -VAS6201/8- -7- into service coupling and open service coupling by screwing in handwheel. Refer to Add UV-Leak Detection Additive using the in the Refrigerant Circuit - Leak Detection Kit - Filler Tube:VAS6201/8 . Hold the hose upward and tighten the handle of the hand pump just enough until the UV-leak detection additive starts to emerge from the tube.
Make sure hand pump hose is completely filled with refrigerant.
-- Close the service coupling and remove tube from the retainer.
-- Cover the area around the service connection on the vehicle with foil or absorbent paper.
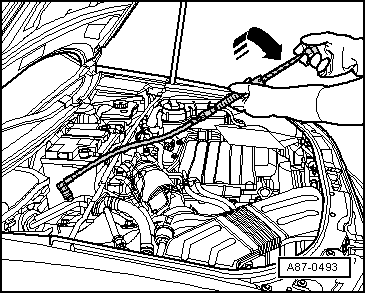
-- Connect the filler device to the refrigerant circuit service connection on the vehicle.
-- Open the service connection by screwing in the handwheel.
-- Turn the hand pump handle to add 2.5 ± 0.5 ml (Milliliter = cm3 ) UV-leak detection additive to the refrigerant circuit (for a refrigerant circuit with a refrigerant oil quantity from 100 to 150 cm3 ).
-- Remove the filling device from the service connection.
-- Remove the rest of the UV-leak detection additive from the service connection, for example using absorbent paper.
-- Seal the service connection with the sealing cap.
-- If necessary, clean the area around service connection using cleaning solution.
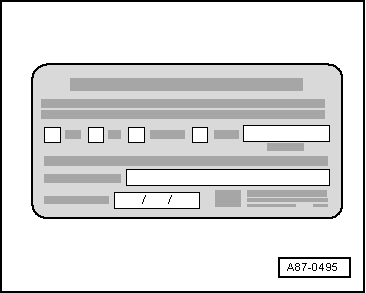
-- Apply a label near the service connection stating that leak detection fluid was added to the refrigerant circuit.
-- Start the A/C system.
A/C system must be operated for a minimum of 60 minutes so that the additive distributes itself in the entire refrigerant circuit (compressor must be running). Depending on the size of the leak, it may become visible under UV light within that time.
Depending on the size and location of the leak, it can now last up to several days until enough refrigerant oil with additive flows out to determine definitely the leaking area.
-- Find the leak in the refrigerant circuit with the UV Lamp :VAS6196/4 . Refer to Detecting Leaks on the Refrigerant Circuit using .