Compression, Checking
Special tools and workshop equipment required
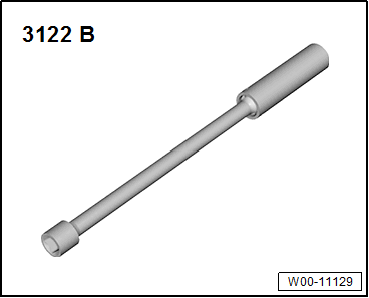
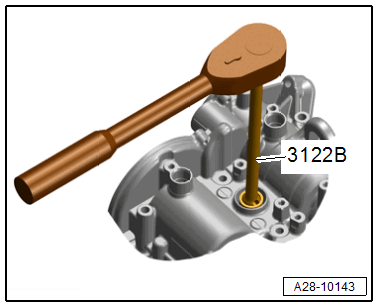
- Spark Plug Removal Tool: 3122B
- Trim Removal Wedge: 3409
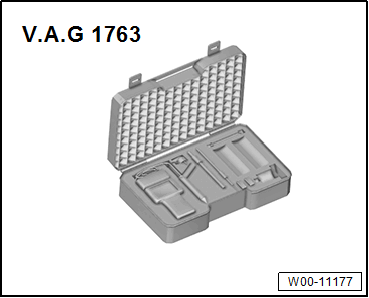
- Compression Tester Kit: VAG1763
- Adapter: VAG1763/13 , not illustrated
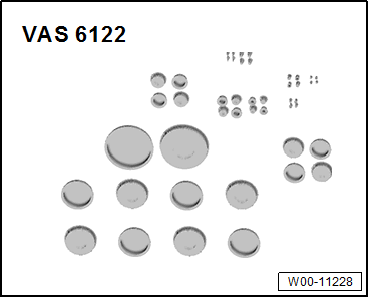
- Engine Bung Set: VAS6122

Test Sequence
- Engine oil temperature at least 30 °C (86 °F).
- Battery voltage at least 12.7 V.
All except Audi Q7/Q8:
-- Remove the engine cover. Refer to ENGINE COVER, REMOVING AND INSTALLING .
Audi Q7/Q8:
Refer to the appropriate service information.
Audi A6/A7 with High-Voltage System:
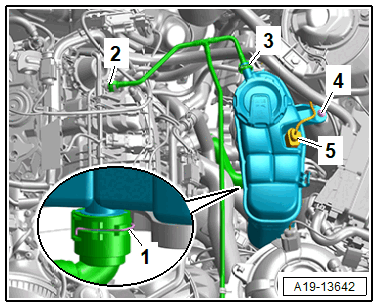
-- Free up the wiring harness.
-- Lift the clamp -3-, remove and free up the coolant hose.
-- Disconnect the connector -5- for the Engine Coolant Level Sensor -G32-.
-- Remove the bolt -4-, and push the coolant expansion tank to the side.
Continuation for all Vehicles with High-Voltage System:

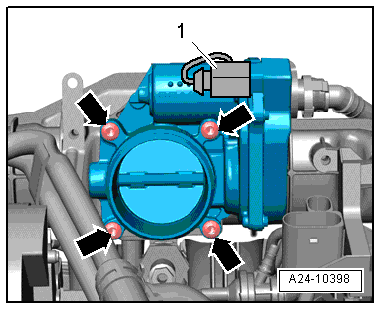
-- Disconnect the connector -2- for the Charge Air Pressure Sensor -G31-.
-- Loosen the screw-type clamp -1- and remove the air duct pipe from the Throttle Valve Control Module -GX3- (example illustration).
-- Seal off any open lines and connections with plugs that are thoroughly cleaned from the Engine Bung Set: VAS6122 .
-- Disconnect the connection -1- for Throttle Valve Control Module -GX3-.
 Courtesy of AUDI OF AMERICA, LLC
-- Open the throttle valve by hand and lock it in open position using the Trim Removal Wedge: 3409 or a wooden wedge -arrow-.
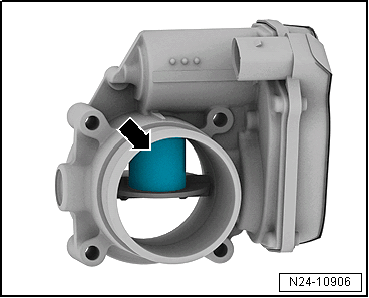
-- Appropriately secure the trim removal or wooden wedge using a thread.
Risk of destroying the engine due to accidentally sucked in foreign objects while the throttle valve control module is open or removed.
- Make sure that no foreign objects are located in the work area and that the trim removal or wooden wedge is secured.
-- Connect the Vehicle Diagnostic Tester and switch on the ignition.
-- Select the Diagnostic mode and start the diagnosis.
-- Select the Test plan tab.
-- Select the Select individual test button and select the following tree structure consecutively:
- Diagnostic-capable systems
- 0001 - Engine electronics J623
- 0001 - Engine electronics, functions
- 0001 - Activate the service mode
Continuation for All Vehicles:
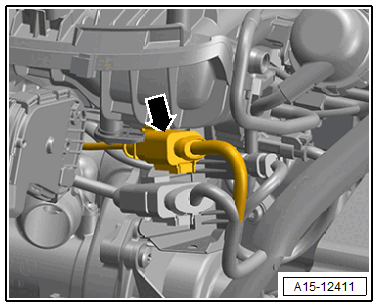
-- Disconnect the fuel injector connector -arrow-.
-- Remove the ignition coils. Refer to IGNITION COIL, REMOVING AND INSTALLING .
-- Remove the spark plugs using the Spark Plug Removal Tool: 3122B .
-- Install the Adapter: VAG1763/13 as shown in the respective spark plug hole and connect the Compression Tester Kit: VAG1763 .
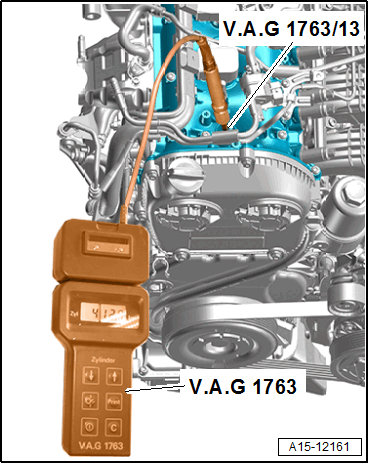
-- Check the compression using the Compression Tester Kit: VAG1763 . Refer to the Operating Manual.
-- Have a second technician operate the starter until the tester stops displaying a pressure increase.
-- Repeat the procedure on each cylinder.
| Compression Pressure | Pressure |
|---|---|
| New | 16.0 to 19.0 bar (232.06 to 275.57 psi) |
| Wear limit | 12.0 bar (174.04 psi) |
| Maximum difference between cylinders | 3.0 bar (43.51 psi) |
TIP:
If the test with the Compression Tester Kit: VAG1763 does not lead to a clear result there are two additional tests.
- In addition to the compression test a pressure test can be performed with the Pressure-Loss Tester: VAS522001 . The procedure for this is described in the operating instructions for the Pressure-Loss Tester: VAS522001 .
- As an additional test the CO2 content in the coolant expansion tank can be measured. A raised CO2 content in the cooling system indicates a leak between the combustion chamber and the cooling system. The CO2 content can be determined using the CO2 Coolant Tester: VAS531009 . The procedure for this is described in the operating instructions of the CO2 Coolant Tester: VAS531009 .
Assembling
-- Install the spark plugs. Refer to OVERVIEW - IGNITION SYSTEM .
-- Install the ignition coils. Refer to IGNITION COIL, REMOVING AND INSTALLING .
Refer to the appropriate service information.
-- Install the engine cover. Refer to ENGINE COVER, REMOVING AND INSTALLING .
-- Delete the DTC memory entries in the Engine/Motor Control Module that have occurred during the test using the.
Tightening Specifications
- Refer to the appropriate service information.