Oil Spray Jets, Removing And Installing
Special tools and workshop equipment required
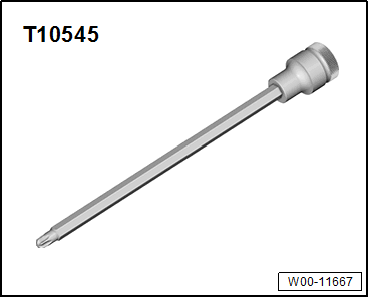
- Socket: T10545
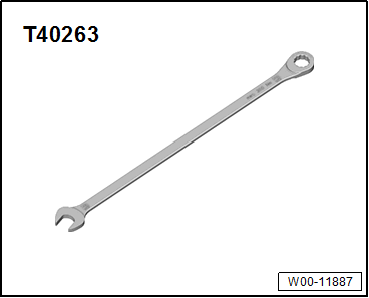
- Wrench - 21mm: T40263
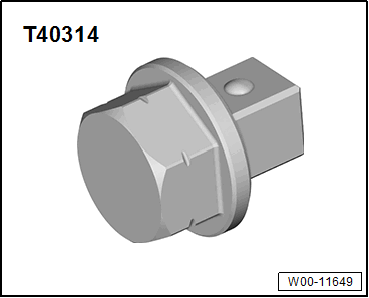
- Adapter: T40314
Removing cylinder "1" through "3" :
-- Remove the oil pan upper section. Refer to OIL PAN UPPER SECTION, REMOVING AND INSTALLING .

Risk of damaging the engine by the timing mechanism skipping.
- Only let the engine turn in the direction of engine rotation.
-- Turn the crankshaft at the vibration damper with the Wrench - 21mm: T40263 , Adapter: T40314 and the 24 mm socket -arrow- until the corresponding bolt is accessible.
Removing Cylinder "4" :
-- Remove the crankshaft. Refer to CRANKSHAFT, REMOVING AND INSTALLING .
Continued for All Cylinders:

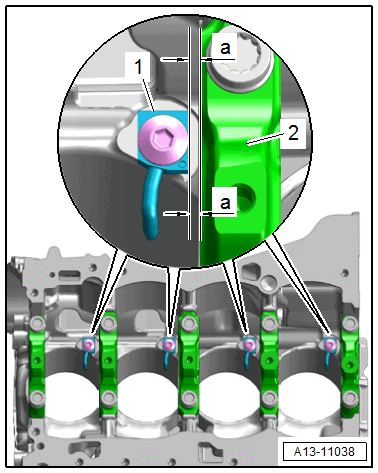
-- Remove the pressure relief valve -1- using the Torx Bit - T40: T10545 .
-- Remove the oil spray jet -2-.
Installing
Install in the reverse order of removal while noting the following:
- Installation position. Refer to Figure.
There is a risk of damaging the oil spray jets through distortions.
- Never bend the oil spray jets.
-- Install the crankshaft. Refer to CRANKSHAFT, REMOVING AND INSTALLING .
-- Install the oil pan upper section. Refer to OIL PAN UPPER SECTION, REMOVING AND INSTALLING .
Tightening Specifications
- Refer to OVERVIEW - PISTONS AND CONNECTING ROD
- Refer to OVERVIEW - CRANKSHAFT