LEFT SEAL, REPLACING, 0DB, 0D2, 0G2, 0DG, 0B0 "quattro ultra", 09R "quattro ultra"
Special tools and workshop equipment required
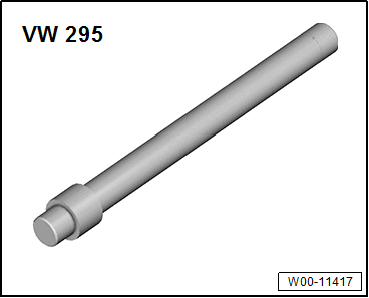
- Bearing/Bushing Installer - Multiple Use: VW 295
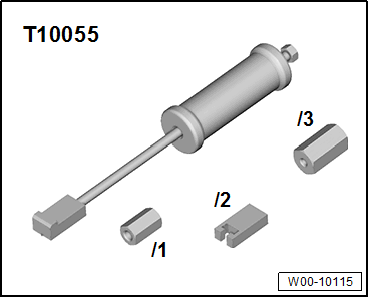
- Puller - Unit Injector: T10055
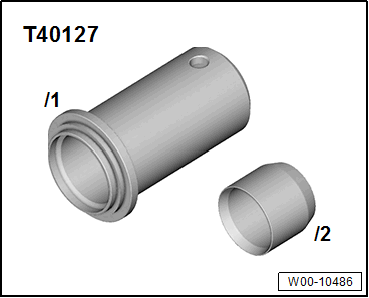
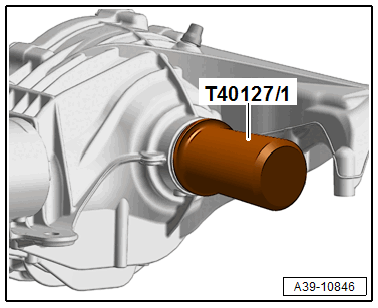
- Final drive 0D2, 0DB, 0G2: Seal Installer - Double Radial Oil Seal: T40127/1
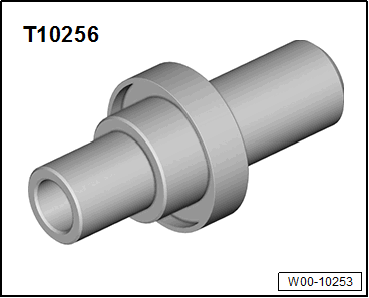
- Final drive 0DG: Seal Installer - Flange Shaft: T10256
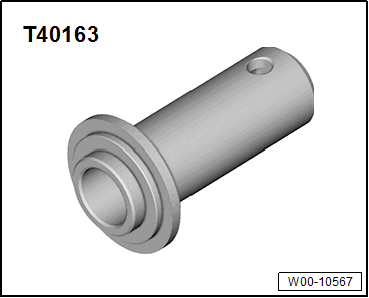
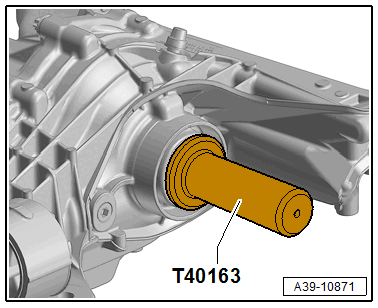
- Final drive 0B0 "quattro ultra", 09R "quattro ultra" : Seal Installer - Flange Shaft: T40163
- Sealing Grease: G 052 128 A1
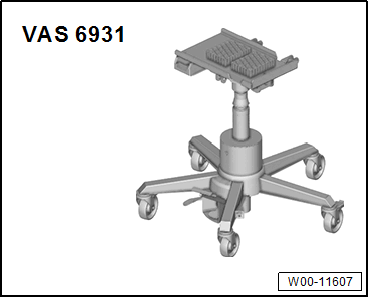
- Audi A8: Engine and Gearbox Jack: VAS 6931
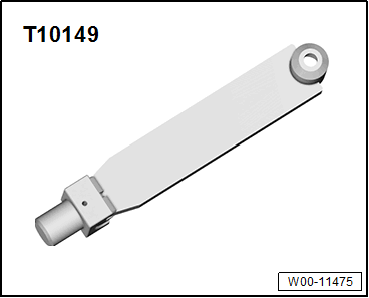
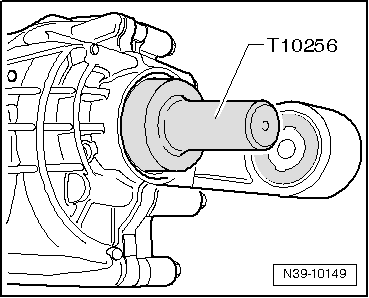
- Audi A8: Engine/Gearbox Jack Adapter - Wheel Hub Support: T10149
- Audi A8: Tensioning Strap: T10038

- The rear final drive is removed.
-- Follow all general repair information. Refer to REPAIR INFORMATION .
-- Place the vehicle on a hoist.
-- Remove the rear section of the exhaust system. Refer to OVERVIEW - MUFFLER - 2.0L (DMSA) , OVERVIEW - MUFFLER - 2.0L (DPAA) or OVERVIEW - MUFFLER - 3.0L .
Audi A8
-- Bleed the air suspension system. Refer to the appropriate Service Information .
Risk of accident due to the vehicle slipping from the hoist due to the spring force of the air suspension.
When lifting the vehicle on the hoist the spring force of the air suspension is to be preserved in its full extent.
- Before lifting the wheel bearing release the spring force of the air suspension by bleeding the system.
- Before the respective suspension is raised, the vehicle must be tied down with the Tensioning Strap: T10038 to the hoist lifting arms.
-- Remove the left rear wheel.
-- Turn the wheel hub until a hole for the wheel bolt is at the top.
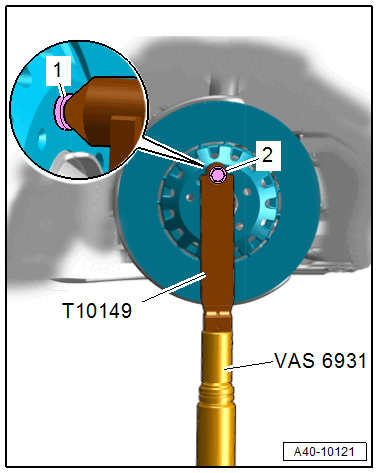
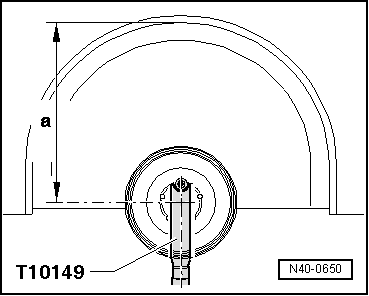
-- Attach the Engine/Gearbox Jack Adapter - Wheel Hub Support: T10149 with a wheel bolt -2- to the wheel hub.
-- Lift the wheel bearing housing via the Engine/Gearbox Jack Adapter - Wheel Hub Support: T10149 with the Engine and Gearbox Jack: VAS 6931 .
-- Install the wheel bearing housing until dimension -a- is reached. From this the flange shaft can be more easily removed from the flange shaft.
 Courtesy of AUDI OF AMERICA, LLC
- Dimension -a- = 470 mm
Risk of accident due to lowering or lifting the vehicle with the engine and transmission jack underneath.
- Never lift or lower a vehicle with the engine and transmission jack underneath.
- Never place the engine and transmission jack longer then required under the vehicle.
Continuation for All
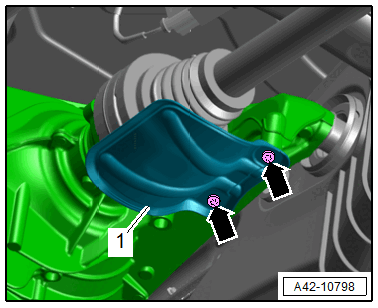
-- Remove the bolts -arrows- and the left drive axle heat shield -1-.
-- Remove the bolts for the left drive axle -arrows-.
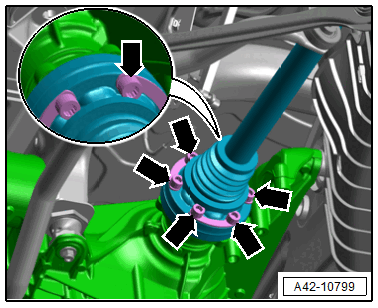
-- Guide the drive axle upward out of the flange shaft and move it to the side.
Flange Shaft with M8 Thread
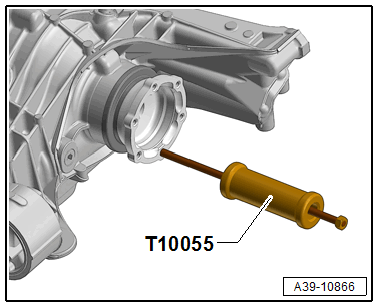
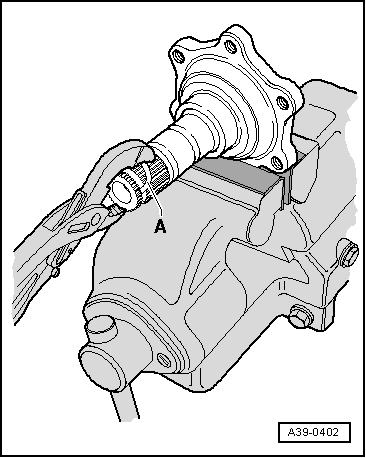
-- Remove the left flange shaft using the Puller - Unit Injector: T10055 .
Flange shaft with M10 threads
-- Push the spindle from the Puller - Unit Injector: T10055 into a flange shaft hole and secure it using an M8 nut.
-- Remove the left flange shaft using the Puller - Unit Injector: T10055 .
-- Use a suitable tool to pry out the seal.
Shaft Seal, Installing, Final Drive 0DB, 0G2 and 0D2
-- Coat outer edge of the seal with gear oil.
-- Fill the space between the sealing/dust lip halfway with Sealing Grease: G 052 128 A1 .
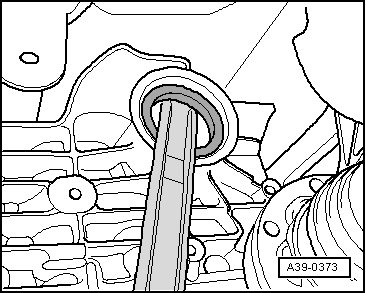
-- Install the new shaft seal with the Seal Installer - Double Radial Oil Seal: T40127/1 until it stops. Do not the tilt the shaft seal while doing so.
Install the shaft seal, final drive 0DG
-- Coat outer edge of the seal with gear oil.
-- Fill the space between the sealing/dust lip halfway with Sealing Grease: G 052 128 A1 .
-- Without tilting, install the new shaft seal all the way on using the Seal Installer - Flange Shaft: T10256 .
Install the shaft seal, final drive 0B0 "quattro ultra", 09R "quattro ultra"
-- Coat outer edge of the seal with gear oil.
-- Fill the space between the sealing/dust lip halfway with Sealing Grease: G 052 128 A1 .
-- Without tilting, install the new shaft seal all the way on using the Seal Installer - Flange Shaft: T40163 .
Continuation for All
-- Clamp the flange shaft in a vise with protective jaws.
-- Remove the old circlip.
-- Insert a new circlip -A- using Pliers in the groove on the flange shaft at the same time do not stretch the circlip.
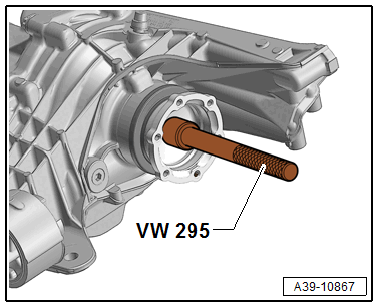
-- Drive the flange shaft in using a Bearing/Bushing Installer - Multiple Use: VW 295 .
-- Insert and tighten the drive axle. Refer to DRIVE AXLE, REMOVING AND INSTALLING .
-- Install the left flange shaft heat shield -1-. Tightening specification Refer to Figure.
-- Check the gear oil level in the rear final drive. Refer to GEAR OIL, CHECKING LEVEL .
-- Install the rear section of the exhaust system. Refer to OVERVIEW - MUFFLER - 2.0L (DMSA) , OVERVIEW - MUFFLER - 2.0L (DPAA) or OVERVIEW - MUFFLER - 3.0L .
Audi A8
-- Drain the wheel bearing housing.
-- Move the Engine and Gearbox Jack: VAS 6931 to the side.
-- Remove the Engine/Gearbox Jack Adapter - Wheel Hub Support: T10149 .
-- Remove the Tensioning Strap: T10038 .
-- Remove the left rear wheel. Refer to the appropriate Service Information .
-- Fill the air suspension system. Refer to the appropriate Service Information .
- The vehicle can only be lowered from the hoist after refilling.