If the active stabilizer is installed: Remove fan cowl
Removing the cover on left and right in the engine compartment at the top
NOTE:
Description is for left component only. Procedure on the right side is identical.
Remove the cover in the engine compartment on top
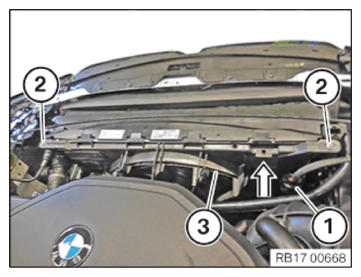
- Detach the gasket (1) in the area of the cover (2).
- Loosen the expanding rivet (3).
- Guide out and remove the cover (2) in the area (4).
Remove resonator
WARNING:
Hot surfaces.
Risk of burning!
Risk of burning!
- Perform all work only on components that have cooled down.
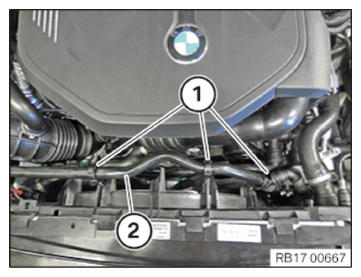
- Loosen clamp (1).
- Loosen screw (2).
- Unfasten clamp (3).
- Make sure that the holder (6) is not damaged while removing the resonator (4).
- Feed the resonator (4) out of the rubber mount (5) out to the top and remove.

Remove the left and right front-end strut
NOTE:
Description is for left component only. Procedure on the right side is identical.
Removing the front-end strut
NOTE:
RISK OF DAMAGE
Use of an incorrect tool (impact screwdriver) to release and tighten the screws.
Damaged thread.
Use of an incorrect tool (impact screwdriver) to release and tighten the screws.
Damaged thread.
- Only use a standard tool (e.g. reversible ratchet) to release/tighten the screws.
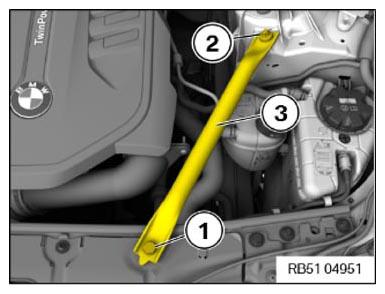
- Loosen screws (1) and (2).
- Remove the front-end strut (3).
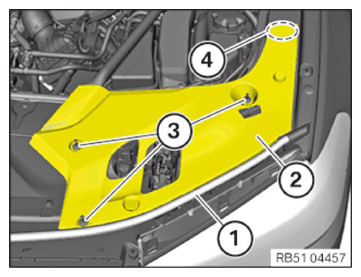
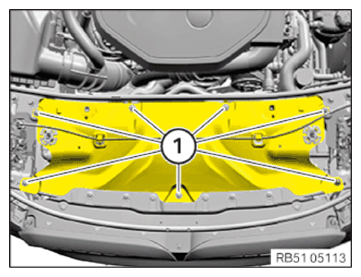
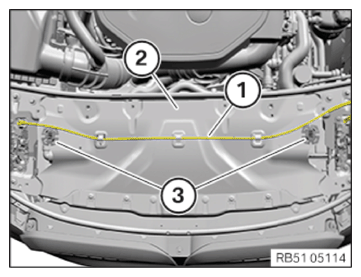
Remove front cross connection
- Loosen screws (1).
- Detach the Bowden cable (1).
- Feed out the cross connection (2) with the holders (3) and remove.
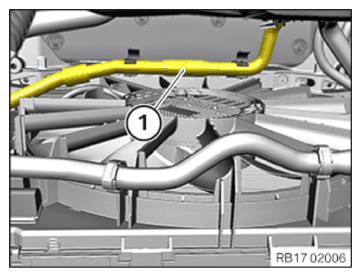
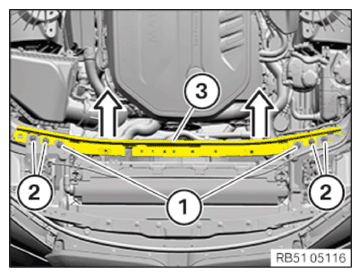
Remove the rear top cross connection
- Loosen screws (1) and (2).
- Guide the cross connection (3) out in the direction of the arrow.
Removing the fan cowl
WARNING:
Hot surfaces.
Risk of burning!
Risk of burning!
- Perform all work only on components that have cooled down.
- Unlock and loosen the clamps (1).
- Feed out coolant line (2) and place to one side.
- If fitted:
Release the coolant line (1) below at the fan cowl from the clamps and place it to the side.
- Unlock and loosen connector (1).
- Loosen screws (2).
- Guide out fan cowl (3) in direction of arrow and remove.