Tighten the screw connection on the control arm in the normal position
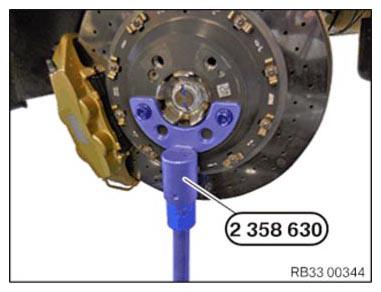
- Secure special tool 2 358 630 to drive flange with lug bolts.
- Insert the universal jack into the special tool 2 358 630
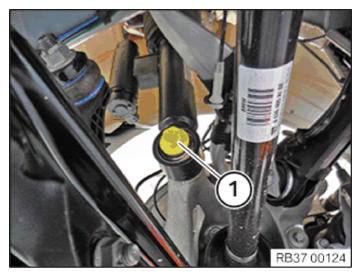
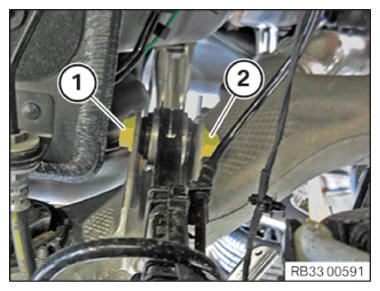
- Loosen screw (1).
- Detach the spring strut from the wheel carrier.
- Adjust NORMAL POSITION .
- Make sure that the spring strut shock absorber is not screwed to the wheel carrier.
- Use the workshop jack and the special tool 2 358 630
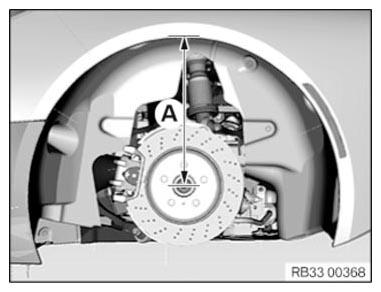
to push the wheel carrier up until it reaches dimension (A).
Dimension (A) = Center of the wheel hub to the upper edge of the wheel arch
Dimension (A) = 401 mm
NOTE: TECHNICAL INFORMATION
Tighten the screw connection in the normal position. - Replace the screw (1).
Parts: Screw
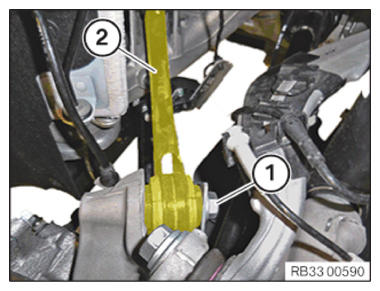
- Tighten the bolt (1) on the control arm (2).TIGHTENING TORQUES SPECIFICATION
Control arm to wheel carrier M16 Replace screw.
Tighten in normal position.Joining torque 165 Nm Angle of rotation 90° NOTE: TECHNICAL INFORMATION
Tighten the screw connection in the normal position. - Replace the nut (2) and screw (1).
Parts: Nut, bolt
- Tighten the nut (2) and screw (1).TIGHTENING TORQUES SPECIFICATION
Control arm to rear axle support M14 Replace screw and nut.
Tighten in normal position.Joining torque 165 Nm Angle of rotation 90° - Lower the workshop jack and set it aside.
- Remove special tool 2 358 630. NOTE: TECHNICAL INFORMATION
Tighten the screw connection in the normal position.
For additional information see: 33 00 TECHNICAL DATA Overview - Position the spring strut on the wheel carrier.
- Replace the screw (1).
Parts: Screw
- Tighten screw (1) in NORMAL POSITION
.TIGHTENING TORQUES SPECIFICATION
Rear spring strut to wheel carrier M16 Replace screw.
Tighten in normal position.Tightening torque 250 Nm
Follow-up work
- If installed: secure CABLE .
- If installed: connect the CABLE .
- Secure right and left CABLES .
- Connect the rear ride height sensor CONNECTOR .
- Secure the rear axle differential PROPELLER SHAFT .
- Install the rear HEAT SHIELD .
- If installed: install the torsion struts MOUNTING BLOCK .
- Install EXHAUST SYSTEM .
- Install the left and right camber control arm COVER .
- Install tank COVER .
- Install left and right rear WHEEL .