Transmission, Removing, 2.0L TDI Engine (Pr-T98 / Ea288 EVO)
Special tools and workshop equipment required
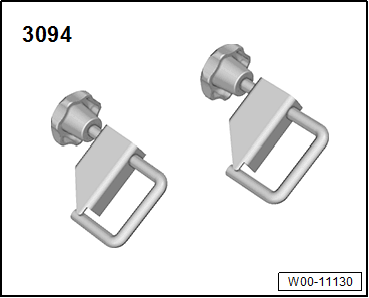
- Hose Clamps - Up To 25 mm: 3094
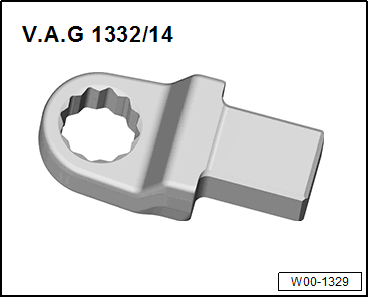
- Torque Wrench 1332 Insert - Ring Wrench - 16mm: VAG1332/14
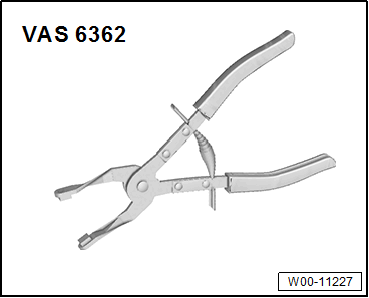
- Hose Clip Pliers: VAS6362
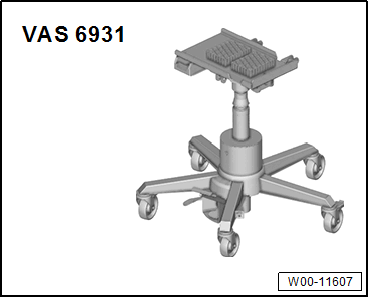
- Engine and Gearbox Jack: VAS6931
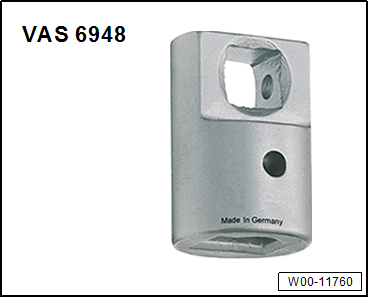
- Torque Wrench Adapter: VAS6948
- Tensioning Strap: T10038
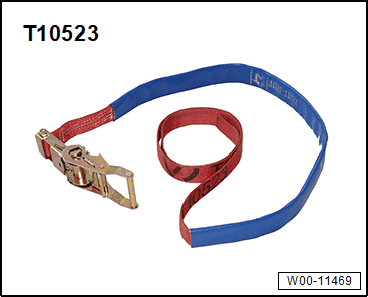
- Tensioning Strap: T10523
- Gearbox Support: T40173A
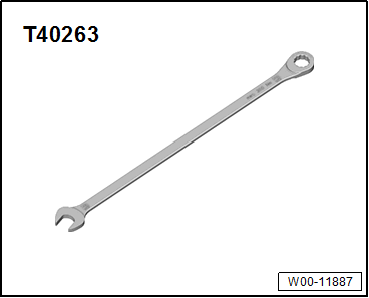
- Wrench - 21mm: T40263
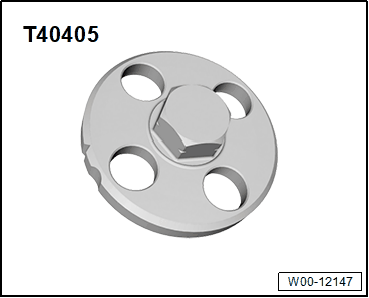
- Adapter: T40405

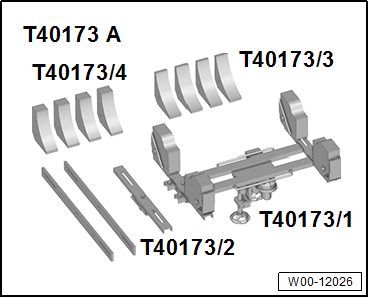
Gearbox Support: T40173A Preparing:
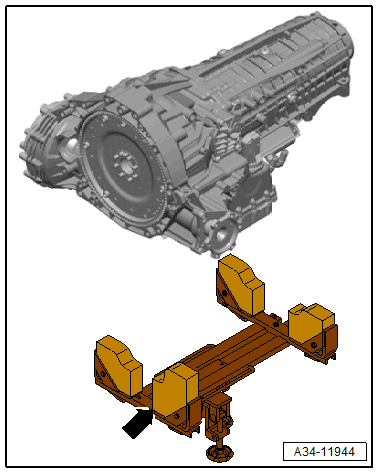
-- The bracket -arrow- must be turned so that the longer side faces upward, as shown.
Procedure
-- Disable the ATF pump and drain the hydraulic pressure reservoir. Refer to ATF PUMP, DEACTIVATING AND DRAINING THE HYDRAULIC PUMP RESERVOIR .
-- Switch the ignition off.
-- Bring the front wheels into the straight-ahead position and remove. Refer to the appropriate Service Information .
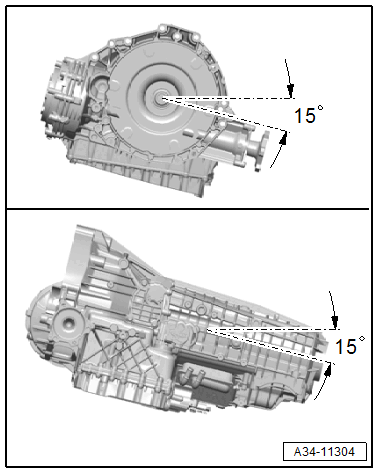
Risk of damaging the transmission by mixing ATF and transmission fluid (MTF) through the same bleeder.
- The transmission filled with ATF and (MTF) transmission fluid must be tilted a maximum of 15° in lateral and longitudinal direction.
- If more of an incline is needed, then the ATF and (MTF) transmission fluids must be drained. Refer to ATF, DRAINING AND FILLING and Refer to TRANSMISSION FLUID, DRAINING AND FILLING .
-- Disconnect the battery ground cable. Refer to BATTERY, DISCONNECTING AND CONNECTING .
-- Remove the subframe crossbrace. Refer to SUBFRAME CROSSBRACE, REMOVING AND INSTALLING .
AWD Vehicles
-- Remove the driveshaft. Refer to DRIVESHAFT, REMOVING AND INSTALLING .
Continuation for All Vehicles
-- Remove the front exhaust pipe. Refer to OVERVIEW - MUFFLER - 2.0L (DMSA) , OVERVIEW - MUFFLER - 2.0L (DPAA) or OVERVIEW - MUFFLER - 3.0L .
-- Remove the plenum chamber bulkhead. Refer to PLENUM CHAMBER BULKHEAD, REMOVING AND INSTALLING .
-- Remove the air filter housing. Refer to AIR FILTER HOUSING, REMOVING AND INSTALLING - 2.0L (DMSA) , AIR FILTER HOUSING, REMOVING AND INSTALLING - 2.0L (DPAA) or AIR FILTER HOUSING, REMOVING AND INSTALLING - 3.0L .
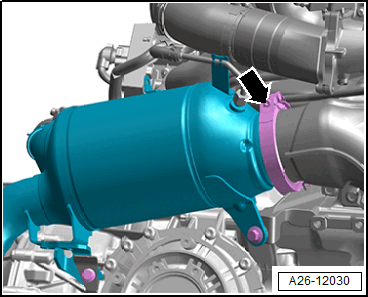
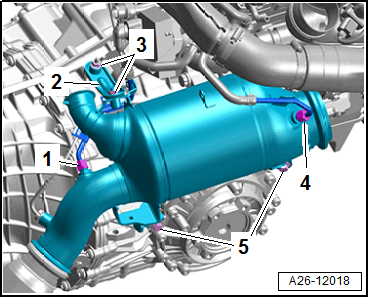
-- Loosen the screw-type clamp -arrow- for the particulate filter.
There is a risk of injury from flying soot particles.
Irritation and injury to skin and eyes possible.
- Wear protective eyewear.
- Wear safety gloves.
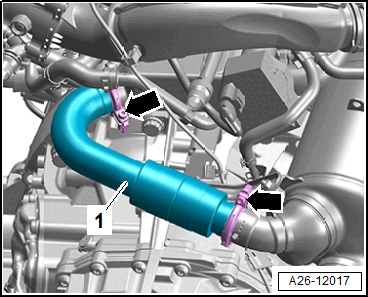
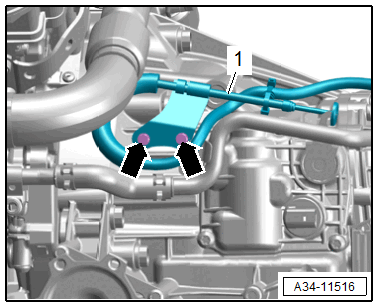
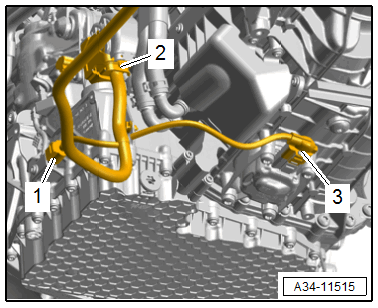
-- Loosen the screw-type clamps -arrows-, and remove the EGR pipe -1-.
-- Remove the bolts -5- and nuts -3-, and remove the bracket -2-.
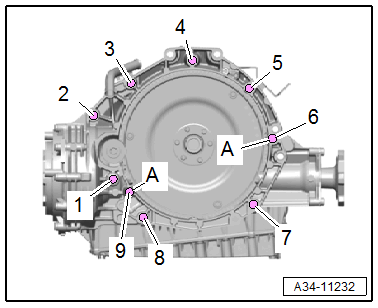
-- Remove the bolts -2 through 5- connecting the engine to the transmission that are accessible from above.
 Courtesy of AUDI OF AMERICA, LLC
-- To catch escaping coolant, place a cloth underneath.
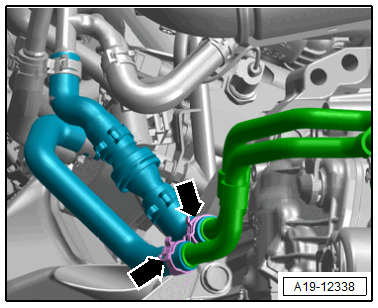
-- Loosen the hose clamps -arrows- and then disconnect and remove the coolant hoses with Hose Clamps - Up To 25mm: 3094 .
-- Install the left tower brace. Refer to TOWER BRACE, REMOVING AND INSTALLING .
-- Tie up the particulate filter as shown using the Tensioning Strap: T10038 .

-- Support the engine in the installation position. Refer to ENGINE, SUPPORTING IN INSTALLATION POSITION 2.0L (DMSA) , ENGINE, SUPPORTING IN INSTALLATION POSITION 2.0L (DPAA) or ENGINE, SUPPORTING IN INSTALLATION POSITION 3.0L .
-- Remove the left subframe shield. Refer to SUBFRAME CROSSBRACE, REMOVING AND INSTALLING .
-- Remove the bolts -arrows- and free up the parking lock emergency release cable -1-.
-- Remove the right drive axle cover. Refer to OVERVIEW - FRONT WHEEL HOUSING LINER .
-- Remove the left and right drive axle from the transmission flange shaft and tie it up toward the rear. Refer to DRIVE AXLE, REMOVING AND INSTALLING .
-- Remove the steering intermediate shaft from the steering gear and then push together. Refer to STEERING INTERMEDIATE SHAFT, REMOVING AND INSTALLING .
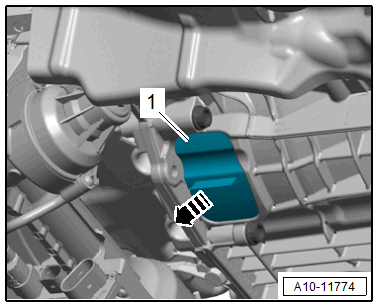
-- Remove the lower cover -1- from the transmission in direction of -arrow-.
-- Position the Wrench - 21mm: T40263 and Adapter: T40405 on the vibration damper.
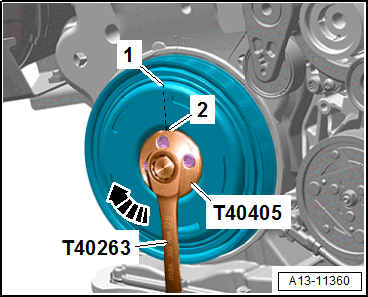
- The recess -2- must align with the "TDC" marking -1- on the vibration damper.
Risk of destroying the engine by the timing mechanism skipping.
- Turn the crankshaft only in the direction of engine rotation -arrow-.
-- Counterhold the crankshaft on the vibration damper.
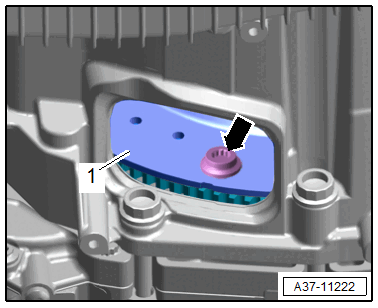
-- Remove the three bolts -arrow- on the drive plate -1-. To do so, turn the crankshaft an additional 120° turn in the direction of engine rotation.
There is a risk of destroying the transmission control module (Mechatronic) with electrostatic discharge.
- Always "discharge" the static electricity before working with connectors. Do this by touching a grounded object, for example vehicle ground, the heater or the hoist.
- Do not touch connector terminals in the transmission connector with hands.
-- Disconnect the connectors -1, 2 and 3- and free up the wires.
-- Remove the bolt -1- using the Torque Wrench 1332 Insert - Ring Wrench - 16mm: VAG1332/14 and the Torque Wrench Adapter: VAS6948 .
Courtesy of AUDI OF AMERICA, LLC-- Remove the starter slightly from the transmission and leave it in the installation position.
-- Remove the remaining bolts -6 through 9- on the transmission connection to the engine.
-- Position the Engine and Gearbox Jack: VAS6931 -1- with the prepared Gearbox Support: T40173A -2- on the bottom on the transmission using the Tensioning Strap: T10523 -3-, s shown in the illustration.

-- Remove the tunnel crossmember. Refer to TUNNEL CROSSMEMBER, REMOVING AND INSTALLING .
-- Push the transmission off the engine and lower it carefully using the Engine and Gearbox Jack: VAS6931 and pay attention to the wires while doing so.