Install catalytic converter
Prepare for the installation of the catalytic converter
CAUTION:
Heavy component.
CAUTION:
Heavy components can lead to injury or damage.
- Remove and install heavy components with the aid of another person/other persons.
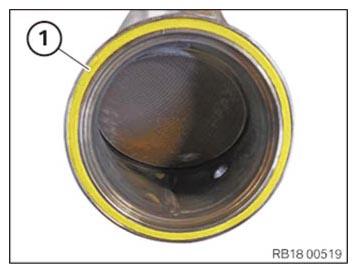
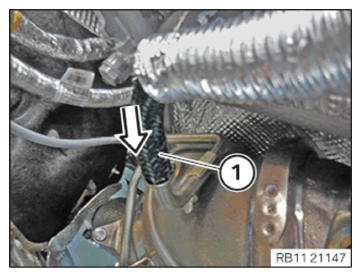
- Guide in catalytic converter (1) in direction of arrow and install.
- Make sure that the oxygen sensor monitor (2) is not
damaged.
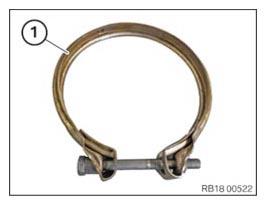
- Replace the V-clip (2).
Parts: V-band clamp
- Feed in and install V-band clamp (2) on the catalytic converter (3).
- Position the bolt (1).
- Version A:
Replace the screw (1).
Parts: Screw
Position the bolt (1).
Replace nut (2).
Parts: Nut
Position the nut (2).
- Version B:
Replace nuts (1).
Parts: Nuts
Position nuts (1).
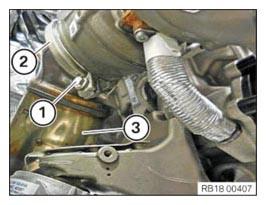
- Position the catalytic converter (3).
- Position V-clip (2).NOTE: Make sure the V-ribbon clip is installed in the correct position.
- Tighten down screw (1).
- Version A:
Tighten down screw (1).
TIGHTENING TORQUES SPECIFICATIONCatalytic converter to holder M8
Replace screws.Tightening torque 19 Nm - Tighten nut (2).TIGHTENING TORQUES SPECIFICATION
Catalytic converter to holder M8
Replace nut.Tightening torque 19 Nm - Version B:
Tighten the nuts (1).
TIGHTENING TORQUES SPECIFICATIONCatalytic converter to holder M8
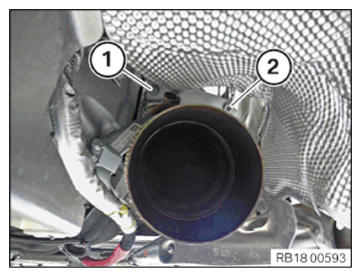
Replace nut.Tightening torque 19 Nm - Feed in and install the heat shield (2).
- Tighten nuts (1).TIGHTENING TORQUES SPECIFICATION
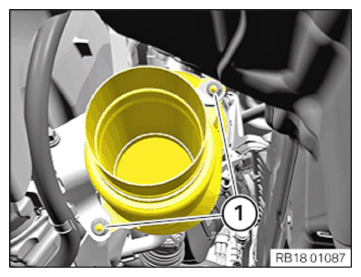
Heat shield to body Nut Tightening torque 3 Nm - Replace pressure hose (1)
Parts: Pressure hose
- Push on the pressure hose (1) in direction of arrow up to the stop.


Follow-up work
- Refer to INSTALLING THE COMPLETE EXHAUST SYSTEM .
- Refer to IF INSTALLED: INSTALL THE TORSION STRUT ON THE RIGHT, AND ON THE LEFT WHERE REQUIRED .
- Refer to INSTALL THE CONNECTING SUPPORTS ON THE TUNNEL .
- Refer to INSTALL THE THRUST FIELD .
- Refer to INSTALLING LAMBDA OXYGEN SENSOR .
- Refer to INSTALLING ACOUSTIC COVER AT REAR .
- Refer to INSTALL ACOUSTIC COVER .
- Refer to INSTALL THE FRONT HOOD SEAL AT THE REAR .